Kimchi Bokkeumbap
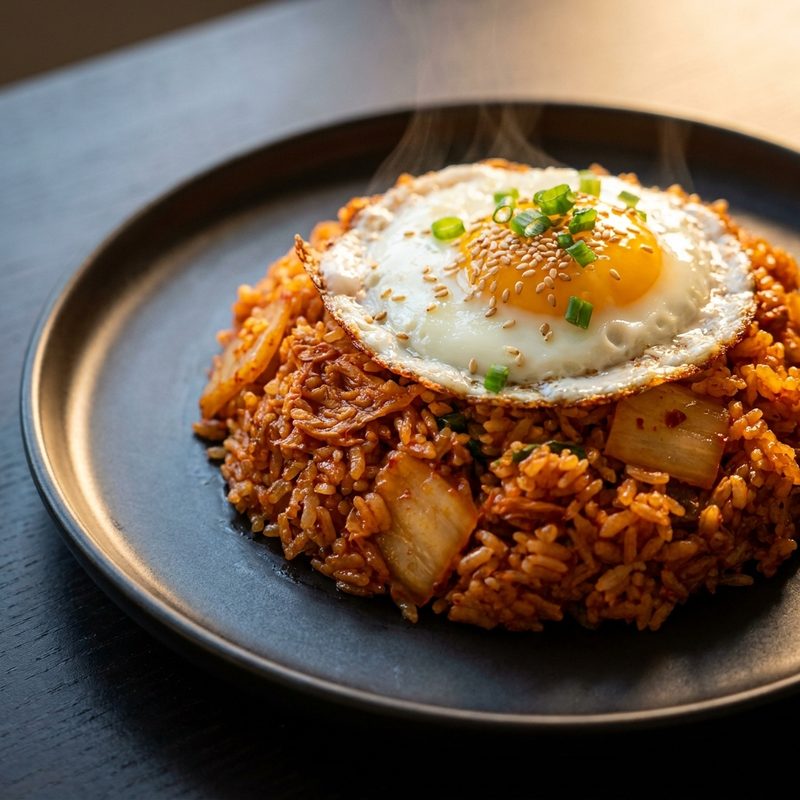
This authentic Kimchi Bokkeumbap features tangy fermented kimchi, savory bacon, and day-old rice stir-fried to smoky perfection. Topped with a signature runny fried egg and crispy seaweed, it's the ultimate comfort meal for any time of day.
Prep
10m
Cook
20m
Serves
4
1 Ingredients
| Qty | Ingredient |
|---|---|
| 3 cups 450 g | Fermented Kimchi (chopped) |
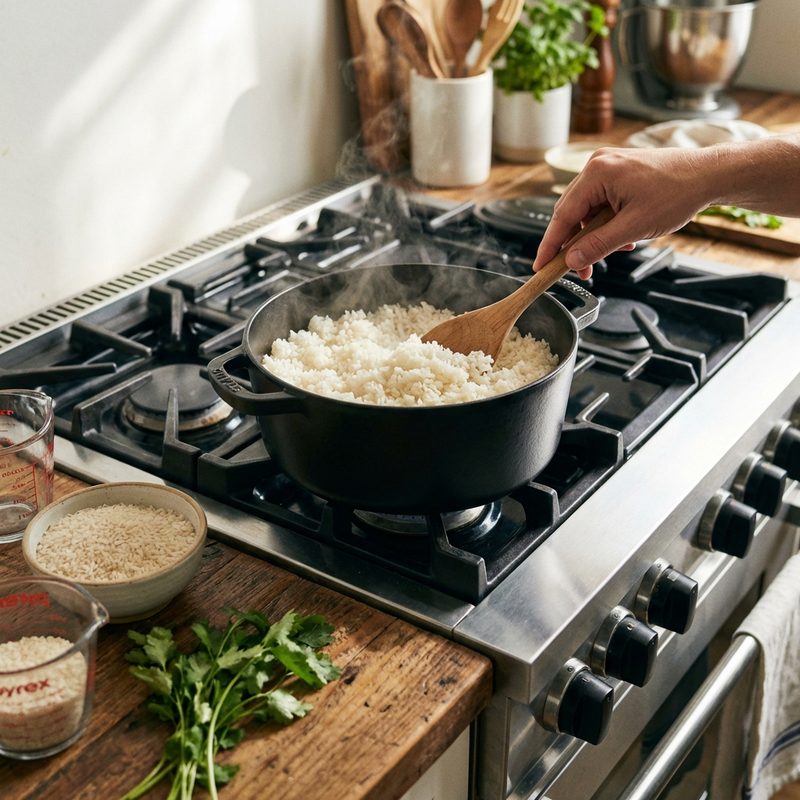
| 6 cups 900 g | Cold Cooked Short-Grain Rice |
| 8 oz 225 g | Bacon or Pork Belly (chopped) |
| 0.5 cup 120 ml | Kimchi Juice |
| 2 tbsp 30 g | Gochujang (Korean red chili paste) |
| 2 tbsp 30 ml | Soy Sauce |
| 2 tbsp 30 ml | Toasted Sesame Oil |
| 4 cloves 20 g | Garlic (minced) |
| 4 stalks 60 g | Green Onions (sliced) |
| 4 large 4 items | Eggs |
| 2 sheets 4 g | Toasted Seaweed (Gim) |
2 Method
Step 1. Prepare the ingredients by finely chopping the sour kimchi and slicing the green onions, keeping the white parts and green tops separate.
Step 2. Heat a large skillet or wok over medium-high heat. Add the chopped bacon and fry until the fat has rendered and the edges are golden and crispy.
Step 3. Add the white parts of the green onions and minced garlic to the pan with the bacon fat. Sauté for 1 minute until fragrant.
Step 4. Toss in the chopped kimchi and stir-fry for 3-5 minutes until it softens and begins to caramelize slightly.
Step 5. Add the cold day-old rice to the skillet, using a spatula to break up any large clumps. Mix thoroughly with the kimchi and bacon.
Step 6. Pour in the kimchi juice, gochujang, and soy sauce. Stir-fry for another 4-5 minutes, ensuring every grain of rice is evenly coated and the mixture is heated through.
Step 7. Drizzle the toasted sesame oil over the rice, give it one final toss, and remove the skillet from the heat.
Step 8. In a separate non-stick frying pan, fry the eggs sunny-side up until the whites are set but the yolks remain runny.
Step 9. Divide the rice into four bowls. Top each serving with a fried egg and garnish with the green onion tops, toasted seaweed strips, and sesame seeds.
💡 Chef's Tips
-
·
Always use day-old rice as fresh rice contains too much moisture and will make the dish mushy.
-
·
The more fermented (sour) the kimchi, the better the flavor of the final dish.
-
·
Press the rice firmly into the bottom of the pan and let it sit for a minute to create a delicious crispy crust called 'nurungji'.
-
·
If you prefer a vegetarian version, substitute bacon with diced king oyster mushrooms or firm tofu.
? FAQ
How do I make my kimchi fried rice more spicy?
Can I use long-grain rice like Basmati?
What if I don't have kimchi juice?
How long does kimchi fried rice last in the fridge?
Videos

Let’s make super easy and delicious kimchi stir-fried rice! #cooking

1 Minute Kimchi Fried Rice 👨🏻🍳🔥🥬

VEGANUARY DAY 8: KIMCHI FRIED RICE🍚 #veganuary #kimchifriedrice #veganrecipes #koreanfood #vegan

4 Minute Kimchi Fried Rice: QUICK & EASY Restaurant-Quality Kimchi Bokkeumbap Recipe 쉽고 맛있는 4분김치볶음밥


Be the first to leave a comment.